

First-run setup
The setup wizard, the admin password and the pages you'll use.
Install with Docker
Run Epilykos with Docker Compose on any system that runs Docker.
Core concepts
How sources, metrics and dashboard cards fit together.
The first time you open Epilykos, head to /setup. On EpilykosOS that's
http://epilykos.local:3000/setup. On Docker it's http://localhost:3000/setup from the same
computer, or something like http://192.168.1.10:3000/setup from another device. The wizard sets your
admin password, connects your equipment and builds you a first dashboard. You can change anything it
sets later in Settings.
The wizard
Password
The admin password protects Settings and the layout editor. The dashboard itself stays open for anyone to look at.
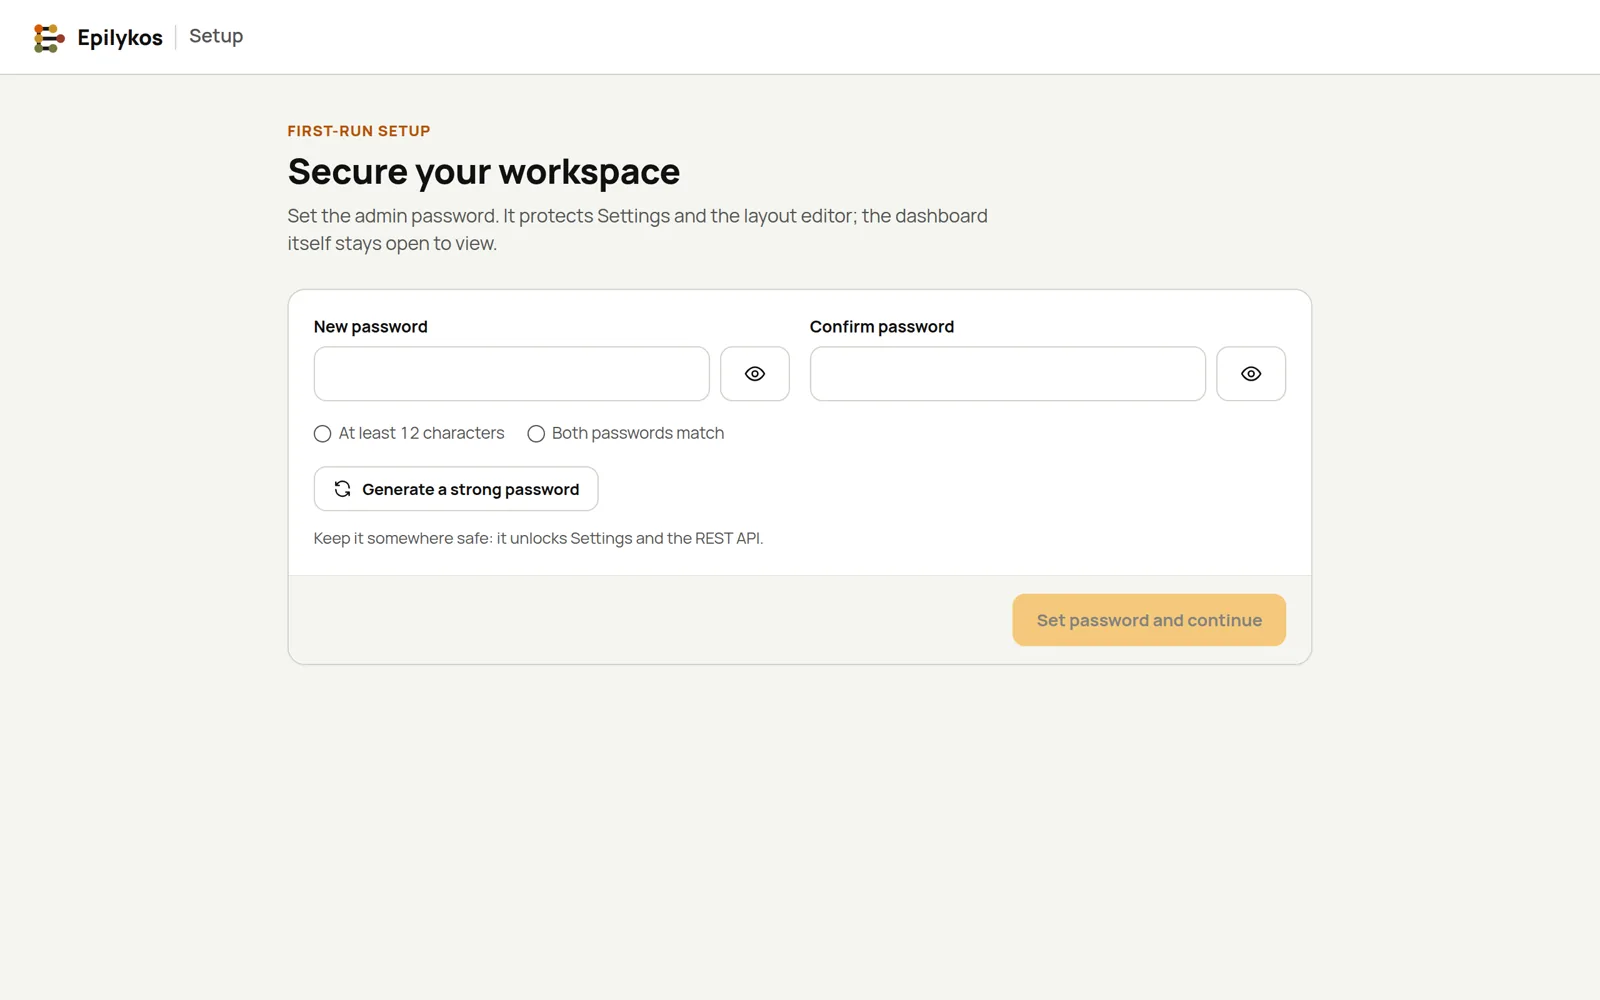
- If no password is set yet, whoever opens the wizard first gets to choose it, so open it yourself right after the first start.
- Use at least 12 characters. Remote access (Tailscale's Open to the internet or a Cloudflare Tunnel) needs a password that long. Generate a strong password makes one for you.
- On Docker with
SETTINGS_PASSWORDset, the wizard asks you for that password instead. See Install with Docker.
Sources
Pick what Epilykos should read from, then fill in the details for each one:
| Group | Choices |
|---|---|
| Inverter | WiFi or Bluetooth dongle, Modbus-TCP, RS485 (Modbus-RTU), RS232 serial |
| Battery | BMS over Bluetooth (scans for nearby batteries), BMS over RS485 / RS232 |
| Home automation and other | Home Assistant, MQTT, REST API |
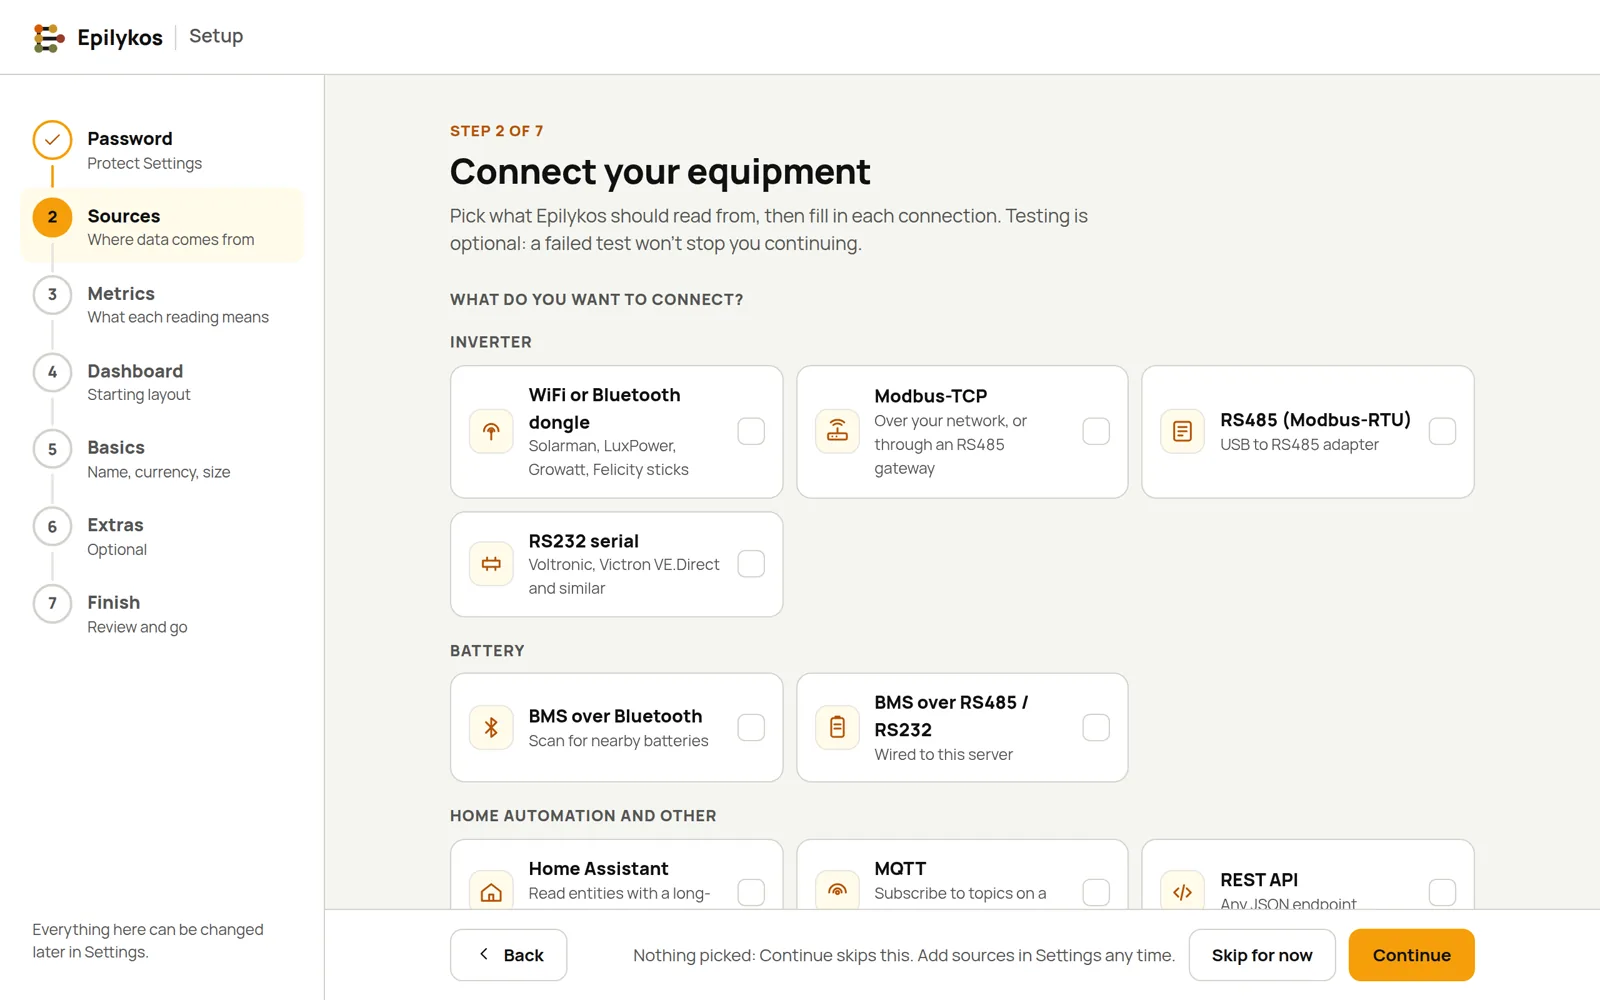
Testing each connection is optional, and a failed test won't stop you carrying on. Tuya devices are added later, in Settings. Data sources explains each type in detail.
Metrics
Tell Epilykos which reading is your solar power, which is your battery level, which is what the house is using, and so on. These metric roles power the flow card, your savings and the daily totals. If you don't have something, just leave it empty.
Dashboard
Choose a layout to start from:
- Everything (8 cards): the system overview, today's totals, energy charts, the forecast, the grid, your savings and history. You can remove whatever you don't need later.
- Simple (3 cards): just the system overview, today's totals and your savings.
Basics
- Site time zone (EpilykosOS only): daily totals follow it. It's filled in from your browser.
- Dashboard title, shown at the top of the dashboard.
- Currency symbol for your savings, for example €, $, £ or ₦.
- Solar array size (kWp): the total size of your panels, used for the solar forecast.
- Grid buy price per kWh, plus the generator buy price if you mapped a generator.
- Theme for this browser. Each device remembers its own choice.
Extras
These are all optional and can be set up in Settings later: uploads to PVOutput, the solar forecast, and the addresses the app uses at home and away.
Finish
Look over what you've set up, finish, and open your dashboard.
Once setup is done, opening /setup again just tells you that Epilykos is already set up. Sign in if
you want to run it again.
The pages you'll use
| Address | What it is | Sign-in |
|---|---|---|
/ | The live dashboard | No |
/settings | Settings | Yes |
/editor | The layout editor | Yes |
/showcase | Every card filled with made-up readings; see Cards and the showcase | Yes |
/controls | Device controls | Yes |
/setup | The setup wizard | Yes, once setup is finished |
If someone else set the password first
If the wizard says Epilykos is already set up but you never chose a password, someone else got there first. You can take it back:
- On Docker, set
SETTINGS_PASSWORDunderenvironment:in the compose file and rundocker compose up -d. That password then unlocks setup and Settings. - On EpilykosOS, reset the password with a file on the SD card; see Password and factory reset.
Last updated on